Photoshop Composite Image
- Samantha Gross
- Feb 17, 2023
- 2 min read
Recently, my classmates and I have been introduced to a program called Photoshop and were taught how to create a composite image. The purpose of a composite is to create an image that displays your vision when a single image may not fully exemplify that.
I started with a practice image using a soccer player, field, lights, fog, and rain. Below is my image.

Now it was time for my own original composite in the food genre.

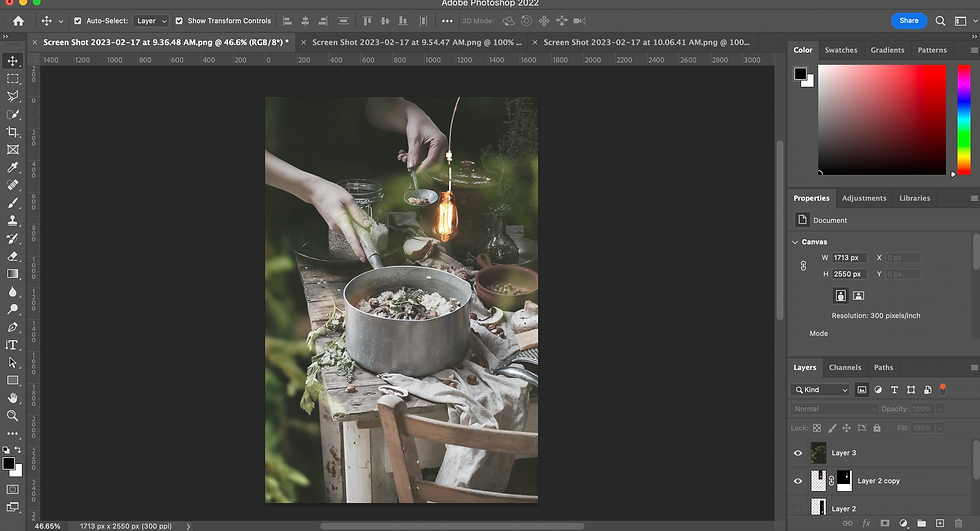
I choose this image as my background and focal point. I adjusted the resolution but it still needed something.

So, I found an image of a bulb light online and dragged it into Photoshop. Once again, I adjusted the resolution so it would be of good quality.

Then, I brought it into my base image. In order to remove the background, I used the quick selection tool and highlighted the areas I wanted to keep. Next, I clicked "select and mask".

Once in "select and mask", I adjusted the edge and radius to remove the background. I then hit "Ok" and dragged the image to where I wanted it to be using the move tool

Next, I wanted to add an overlay for some texture. There are some slight green hues in the image so I played off of that.

This was the image I chose. Like before, I made the image better quality through its resolution and then dragged it into my main image.
I changed the mode from "normal" to "screen" so that it would be transparent. I also didn't want any bark showing so I zoomed in a lot to the outer edges of the image.

I then combined the image into a single composite. Lastly, I went into the "camera raw filter" to edit the coloring. I changed many options such as the exposure, temperature, vibrance, saturation.

This is what the layers looked like.
My final photoshopped composite image turned out like this:


Comments